From the moment I discovered the tapestry crochet technique, I’ve always thought of it as a very special way of crocheting. It goes slower, it’s more firm and the most important thing about this technique for me is that you can make graphic and geometric designs with it.
By carrying multiple threads/colours you can create designs without cutting and weaving in your ends. With tapestry crochet you can make for example bags, coasters, potholders and pillows.
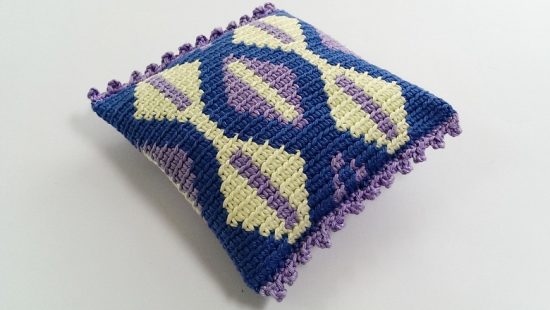
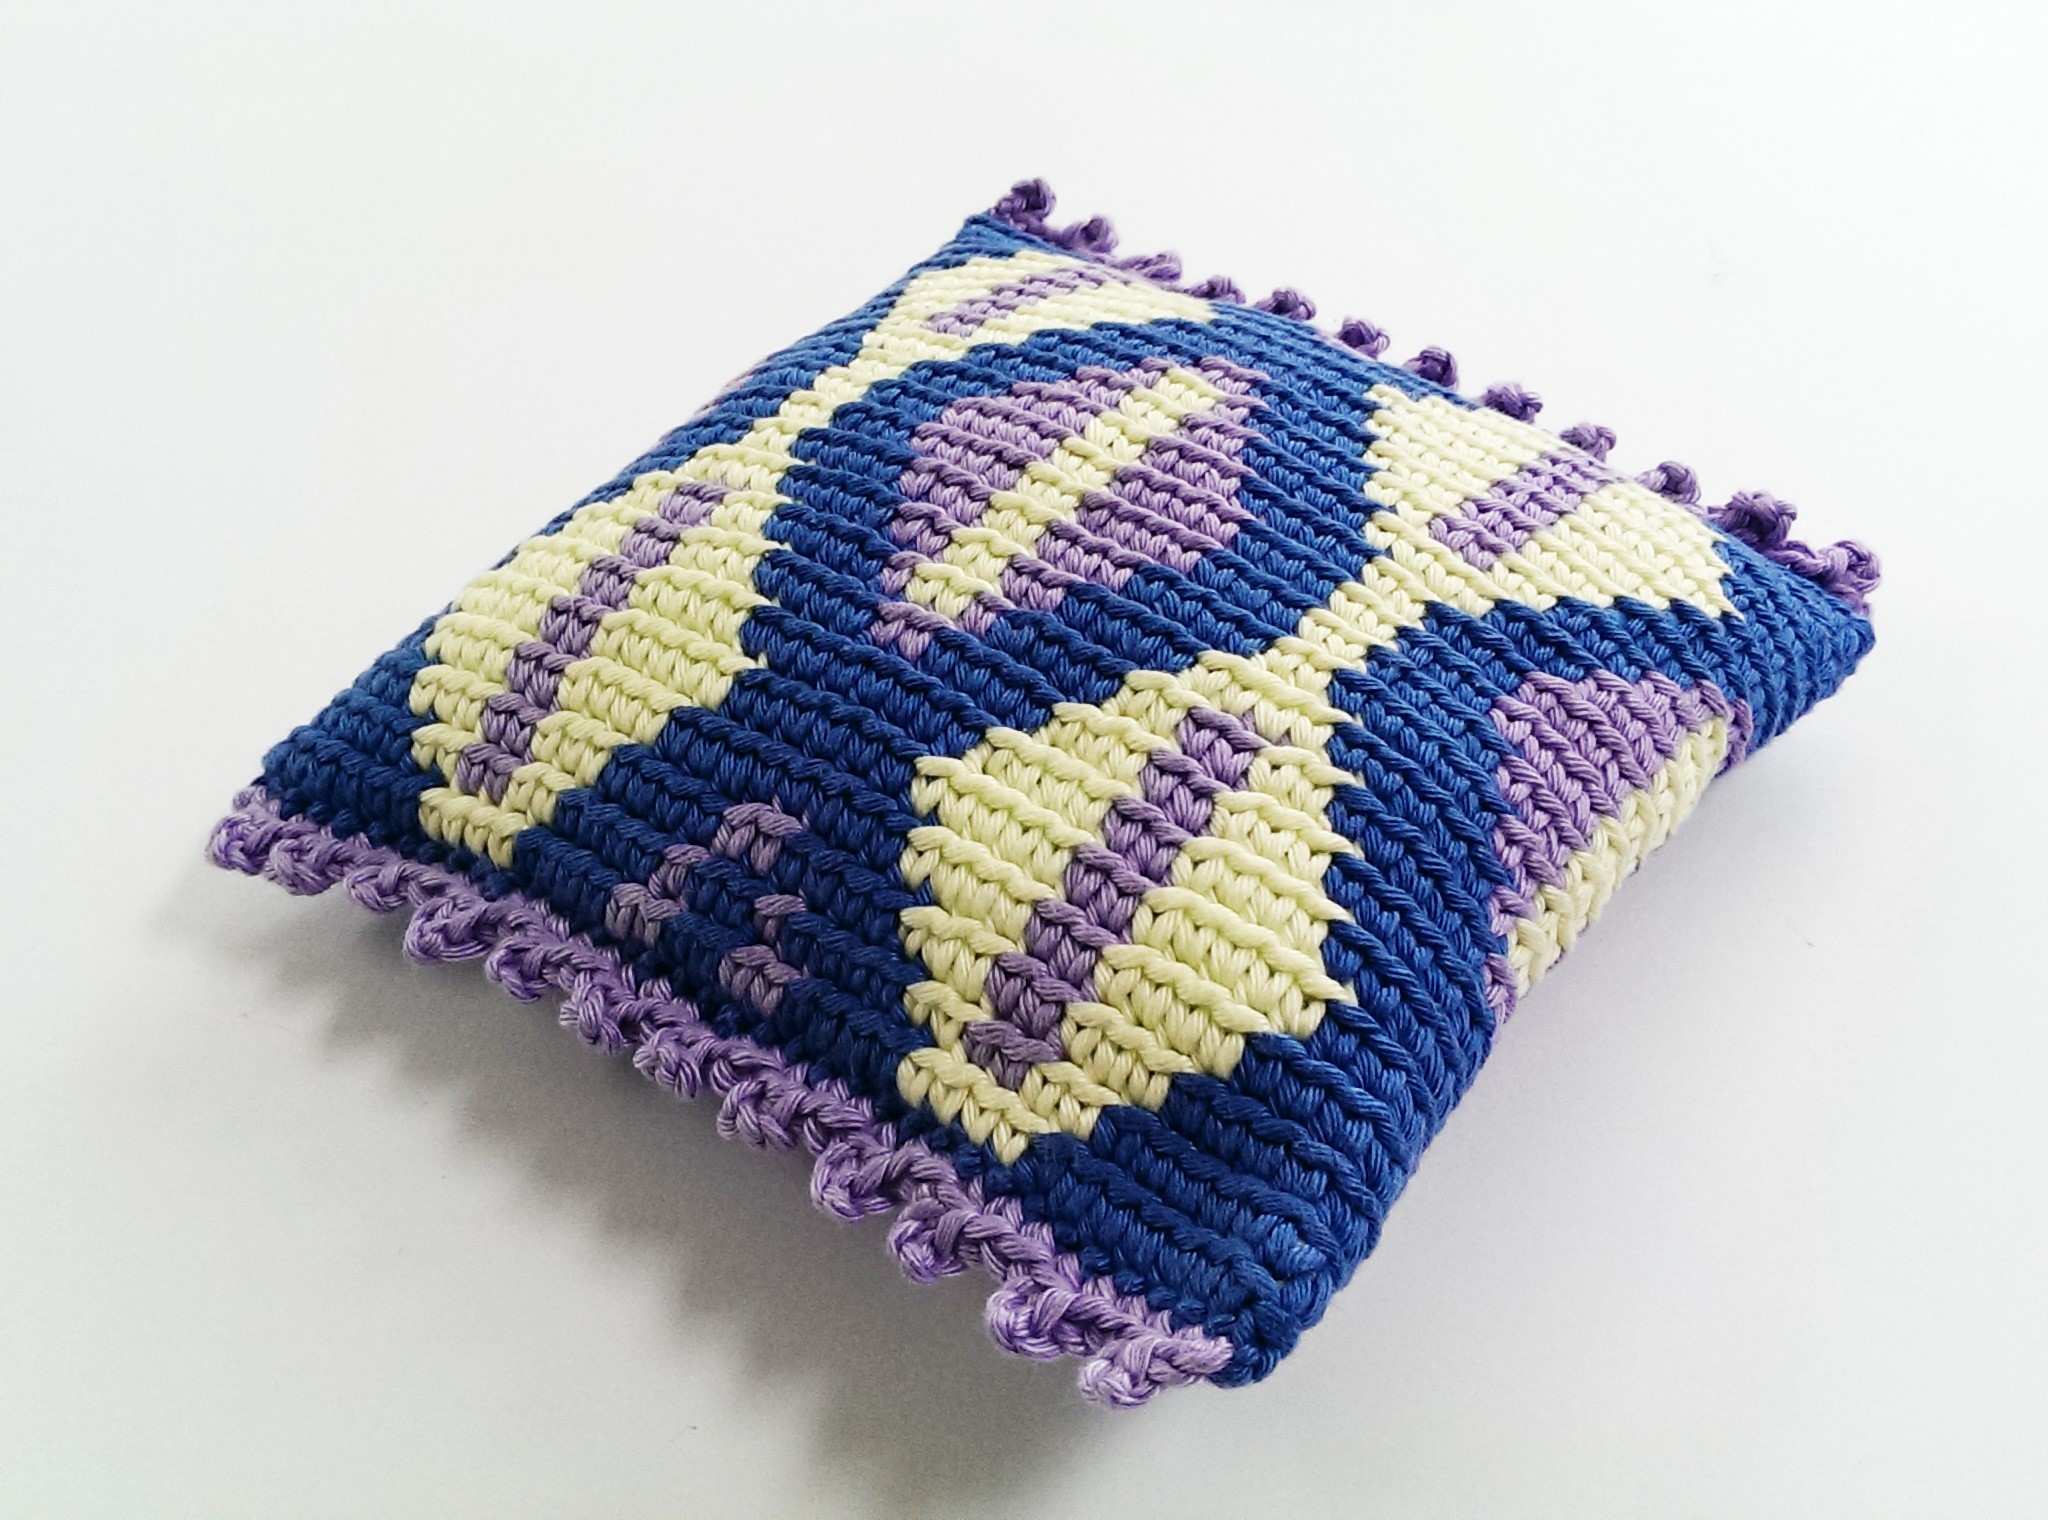
In this first tutorial I’m first going to explain the basics of how to do tapestry crochet. Finally I will describe how you can make a little cushion with tapestry crochet.
I have used US standard abbreviations in this tutorial and pattern.
1. Which yarn
If this is one of your first tapestry crochet projects, choose a thick yarn and a matching hook. This makes it easier to crochet and to see where you made mistakes. Once you’ve got the hand of it, you can switch to a thinner kind of yarn. The most suitable yarn for a first project should be cotton yarn, suitable for crochet hook 4,00mm/G-6. I chose for Catania Grande this time.
2. How to make your stitches
You have to crochet your single crochet stitches by only inserting the hook in the back loop. You only crochet in the back loop so your motifs won’t become slanted.
3. How to carry/attach colours
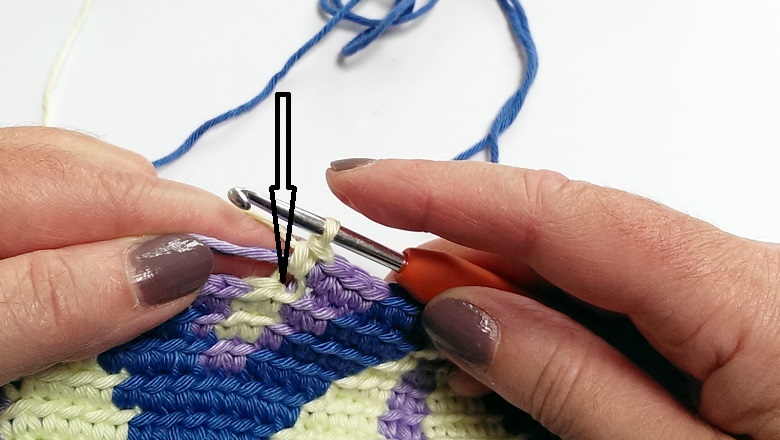
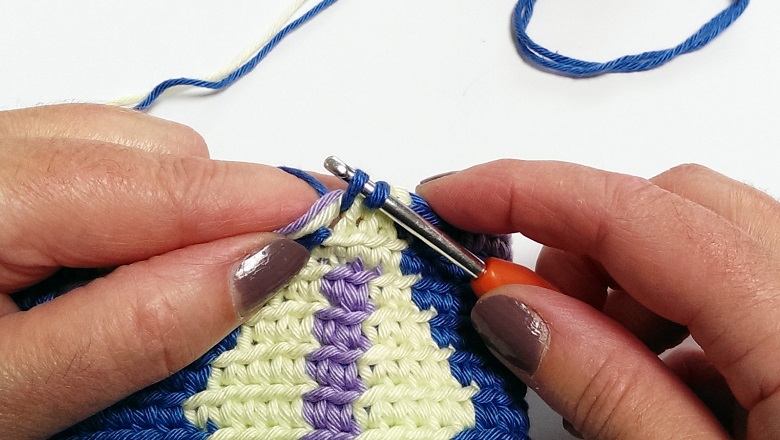
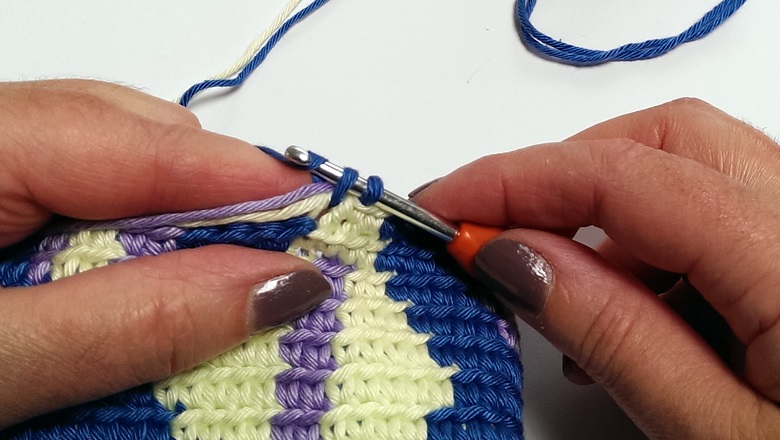
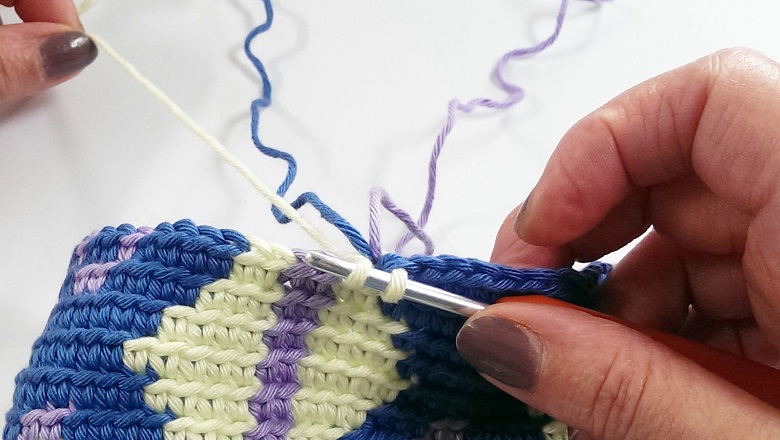
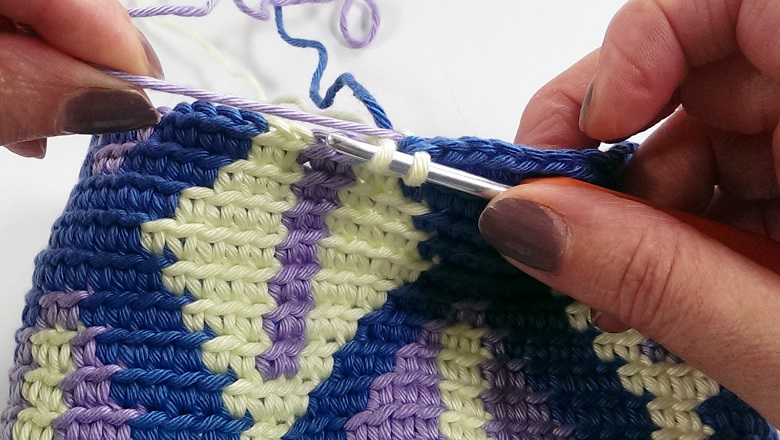
You carry your threads by locking them under a single crochet stitch. After you have started and the pattern requires all the threads you place your new colours behind a single crochet and over the colour you are working with.
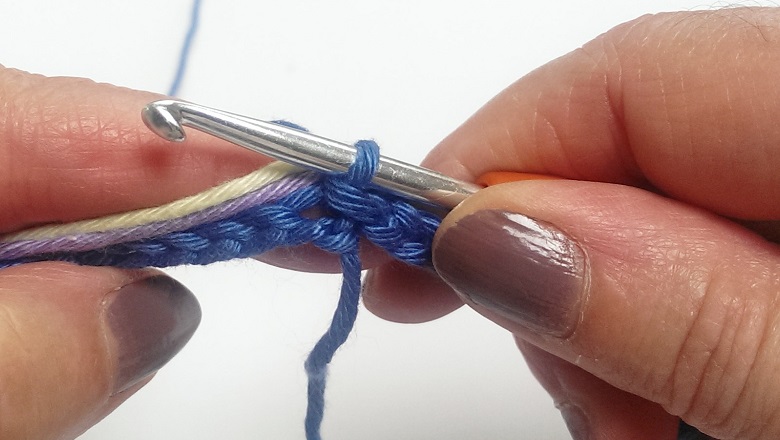
Insert your hook in the back loop under the new threads, yarn over and pull through.
Yarn over, this time you’re going over the new threads, finish your stitch. Your new colours are attached.
Make sure you crochet every stitch under and over the threads. Don’t miss any, otherwise you will get loose threads at the back of your work.
Sometimes a little knot is formed in the colours you’re carrying. By pulling a little bit at the thread after you have finished your stitch, the knot will disappear.
4. How to change colours
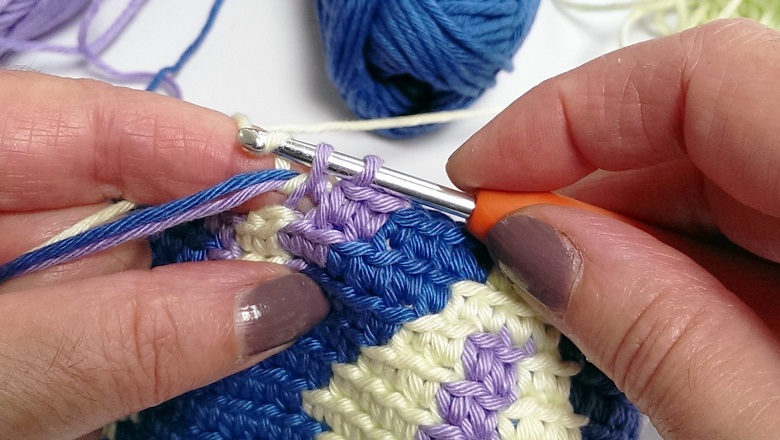
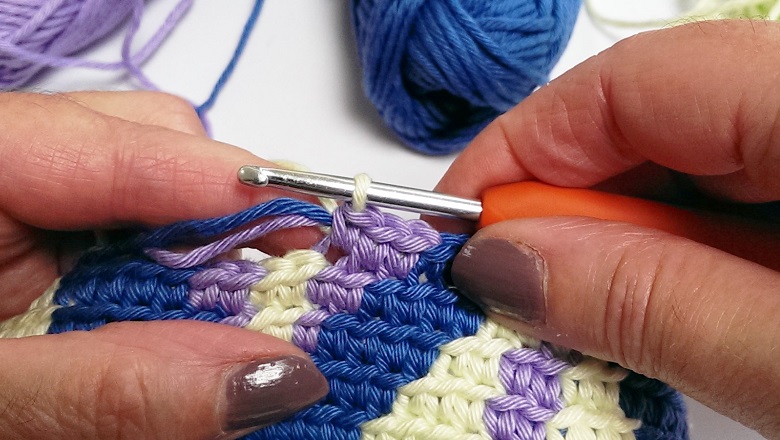
When you have to change colours, you have to finish your single crochet with the new color.
5. How to prevent tangles
With tapestry crochet you use several colours. In this tutorial I work with 3 colours/threads. I give each thread it’s own place. I try to keep the threads at their on places.
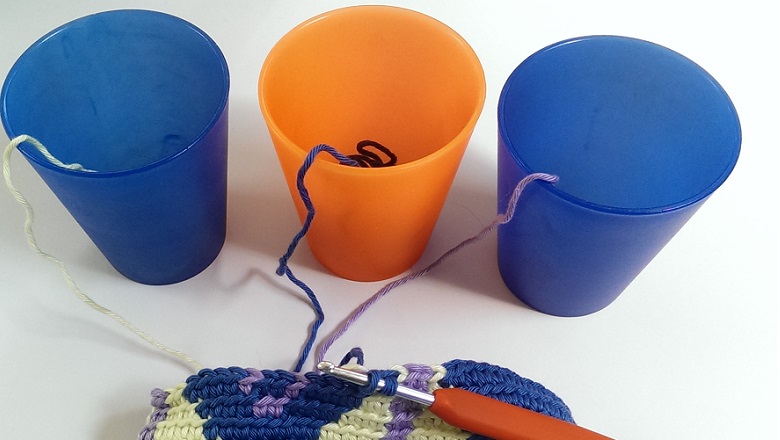
Every time I take a new colour, I put the color I am done with, back to his place where I picked it up from. So when I’m ready working with blue, I put the thread back between the yellow and the lilac. I put my balls of yarn in cups, so they can’t move around.
6. How to prevent your work from getting fluffy or from being too tight
Make sure that you work with the right size crochet hook. It’s better to work with one size smaller when you crochet loose.
It’s also important that you pull after every 5-6 stitches a little bit at the threads you didn’t use. Just a little bit, if you pull too hard your work won’t be flat anymore.
When you don’t pull the threads enough your work will become fluffy and you will see the carrying threads.
How to make the cushion
I have used:
– Cotton yarn in 3 colours. I have used Catania Grande in colours 3261, 3208 and 3206.
– A crochet hook 4,00mm/G-6.
– A pillowinsert from 17 x 17 cm (6,7 x 6,7 inch)
– Sciccors and a tapestryneedle.
Stitches:
ch = chainstitch
sl st = slipstitch
sc = single crochet (US terms)
Start:
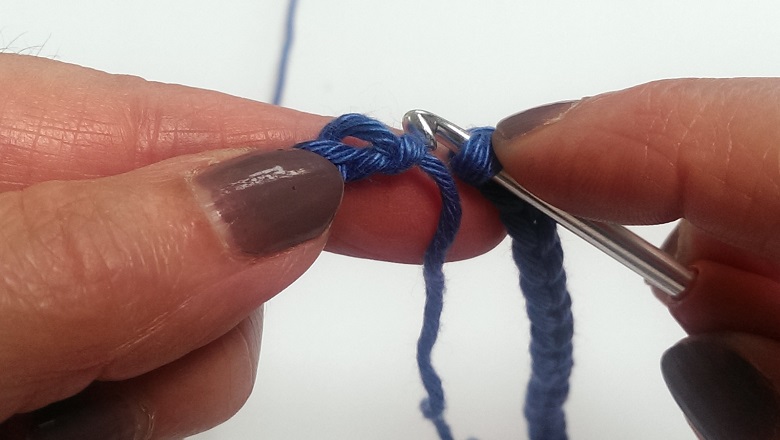
Make with blue a slipknot and crochet 72ch. Close to form a ring, by sl st in chain 1.
You have to work in rounds, so you will get a “tube”.
From here you have to attache the other threads (see above, how to attache/carry threads).
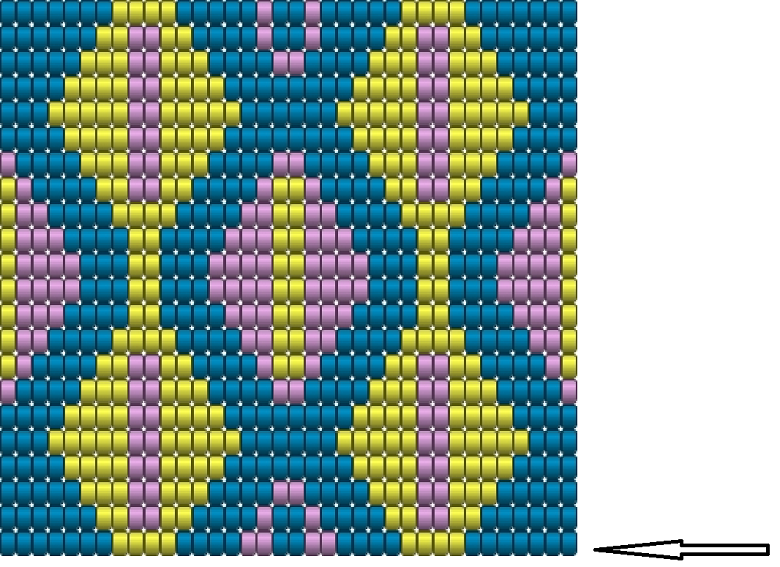
You crochet sc in rounds according to the chart. Your beginning is at the arrow. You have to repeat the pattern one time, every round, meaning every round you crochet 72 sc. You don’t finish your rounds with a slipstitch, you just go on.
After 22 rows your “tube”is ready. Crochet the last 2 stitches as sl st. Fasten your thread.
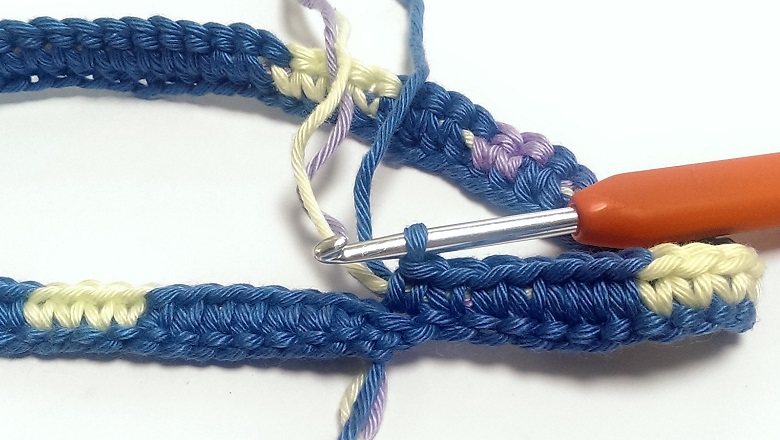
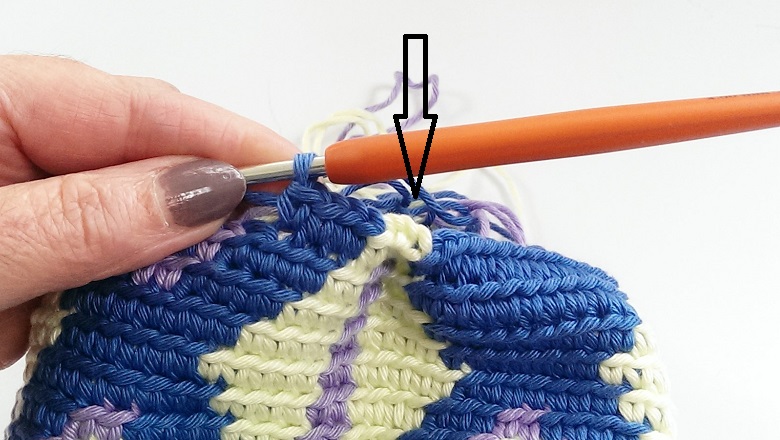
Now you fold the “tube” flat in a way that you see the image at the front and at the back.
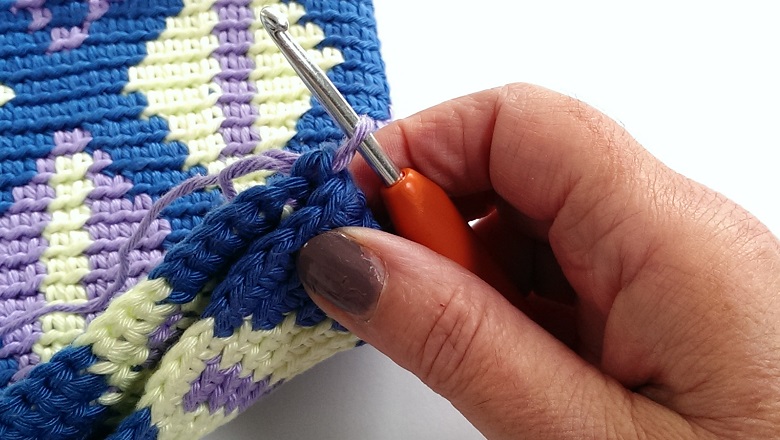
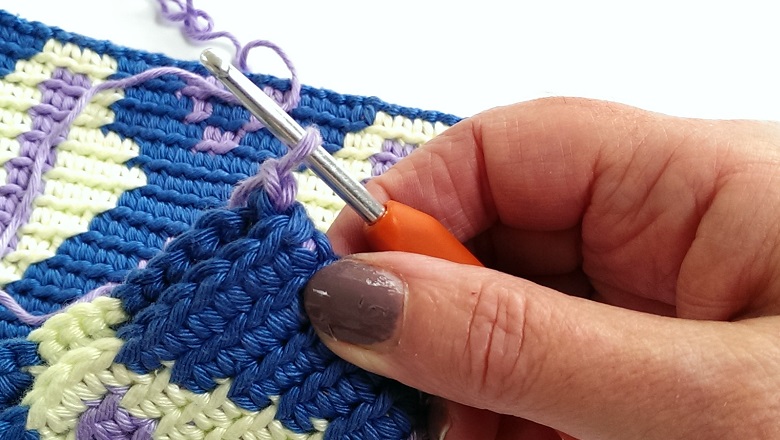
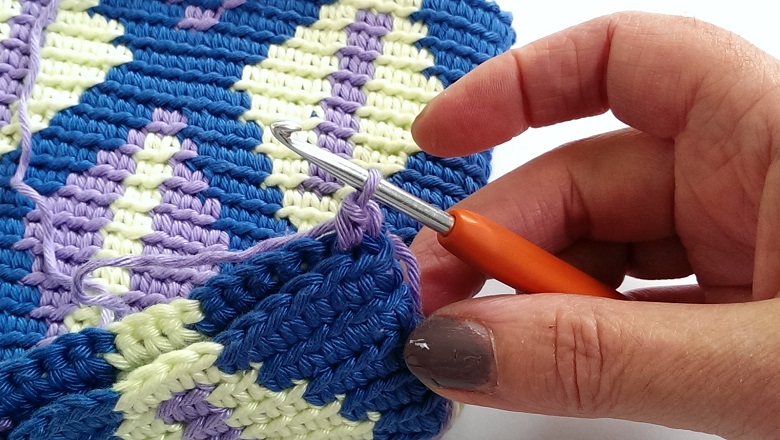
Insert your hook in the first stitch at the front and the back, insert only in the back loops, yarn over, pull through, yarn over and pull through again.
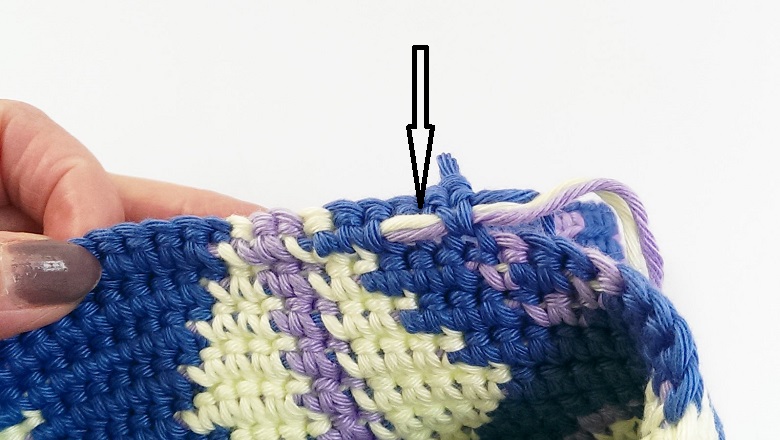
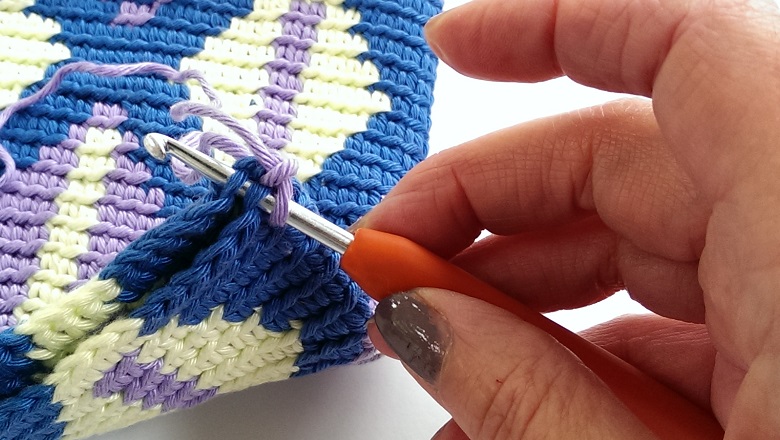
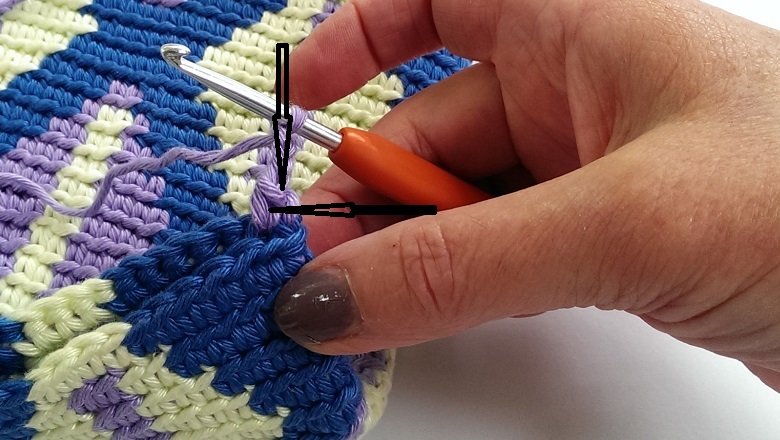
Make in the following stitch a sc and a picot: crochet 1 sc, 3 ch, insert your hook in the front and left loop (follow the arrows) yarn over, pull through and make a sl st.
Crochet each time 2sc and 1sc with a picot. You end the row with a sl st. Fasten off.
Put your pillowinsert into your cushion and crochet at the bottom a same border.
Good Luck and have fun crocheting!!!





 My name is José Visser. My father taught me to knit when I was 5 years old. My teacher at primary school did the rest. She learnt me knitting, crochet and sewing by hand.


14 Comments